Shop Jaws Podiatry on Amazon
Podiatrist-formulated foot-care products for fungus, calluses, and cracked heels.
Visit the Jaws Podiatry Store →As an Amazon Associate we earn from qualifying purchases.
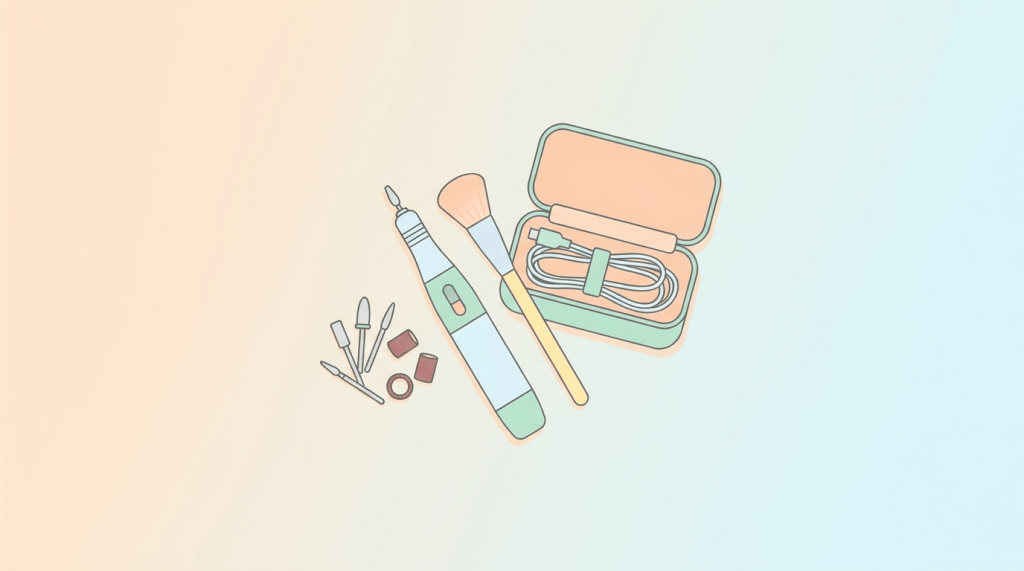
Knowing how to clean and store an electric nail drill properly is crucial for maintaining its longevity, ensuring hygienic nail care, and preventing potential infections. This comprehensive guide will walk you through the essential steps to thoroughly clean your drill and its bits, and then store them safely to keep your equipment in top condition and your feet healthy.
What You’ll Need
Gathering your supplies before you begin makes the cleaning process efficient and thorough.
- Soft-bristled brush: A dedicated brush for dusting off the drill and bits. check the current price on Amazon
- Lint-free cloths or wipes: For wiping down surfaces and drying. check the current price on Amazon
- 70% or 90% Isopropyl Alcohol (Rubbing Alcohol): An effective disinfectant for the drill bits and handpiece exterior. check the current price on Amazon
- Bit cleaning solution (optional but recommended): Specialized solutions help break down product residue on bits. check the current price on Amazon
- Small, airtight container: For soaking bits in cleaning solution or alcohol. check the current price on Amazon
- Cuticle oil or machine oil (for specific models): To lubricate the handpiece chuck if recommended by the manufacturer. check the current price on Amazon
- Safety glasses: To protect your eyes from debris during cleaning. check the current price on Amazon
- Dust mask: To avoid inhaling fine dust particles. check the current price on Amazon
- Electric nail drill storage case or organizer: For safe and organized storage. check the current price on Amazon
- Cotton swabs or interdental brushes: For reaching small crevices. check the current price on Amazon
Shop Jaws Podiatry on Amazon
Podiatrist-formulated foot-care products for fungus, calluses, and cracked heels.
Visit the Jaws Podiatry Store →As an Amazon Associate we earn from qualifying purchases.
Step-by-Step Guide to Cleaning and Storing Your Electric Nail Drill
Follow these steps carefully to ensure a hygienic and long-lasting electric nail drill.
Step 1: Prioritize Safety and Preparation
- Unplug the Drill: Always disconnect your electric nail drill from the power source before starting any cleaning or maintenance. This prevents accidental activation and potential injury.
- Wear Protective Gear: Put on your safety glasses and dust mask. Cleaning can release fine dust particles and debris, which can be harmful if inhaled or gets into your eyes.
- Clear Your Workspace: Ensure you have a clean, well-lit, and ventilated area. Lay down a clean towel or paper towels to contain debris.
Step 2: Remove and Initial Clean of Drill Bits
- Remove Bits: Carefully unlock and remove the drill bit from the handpiece. Refer to your drill’s manual for the specific locking mechanism (twist-lock, push-pull, or lever).
- Brush Off Debris: Using your soft-bristled brush, gently brush away any visible dust, nail filings, or product residue from each drill bit. Pay close attention to the grooves and ridges. This initial dry brushing prevents debris from hardening when wet.
Step 3: Clean the Drill Bits Thoroughly
Different bit materials may require slightly different cleaning approaches, but the general principle of cleaning and disinfection remains the same.
- Soak in Bit Cleaner (Recommended): Place the bits in a small, airtight container filled with a specialized bit cleaning solution. Allow them to soak for the time recommended by the product manufacturer (usually 5-15 minutes). This helps to loosen and dissolve stubborn product buildup.
- Alternatively, Soak in Isopropyl Alcohol: If you don’t have a dedicated bit cleaner, you can soak bits in 70% or 90% isopropyl alcohol for at least 10 minutes. While effective for disinfection, it may not be as good at dissolving heavy product buildup as a dedicated solution.
- Scrub if Necessary: After soaking, use your soft-bristled brush or a small interdental brush to scrub any remaining residue from the bits under running water (if the cleaning solution allows, or after removing from alcohol). Ensure all grooves and crevices are clean.
- Rinse and Dry: Thoroughly rinse the bits under cool running water (if applicable to your cleaning solution) to remove any cleaning solution residue. Pat them dry immediately with a clean, lint-free cloth. Ensure they are completely dry before proceeding to disinfection or storage to prevent rust.
- Disinfect: Even after cleaning, disinfection is critical. Submerge the bits in 70% or 90% isopropyl alcohol for at least 10 minutes. This step kills bacteria, viruses, and fungi. After soaking, remove the bits and allow them to air dry completely on a clean, lint-free surface. Do NOT rinse after disinfection with alcohol, as this dilutes the disinfectant.
Step 4: Clean the Handpiece and Control Unit
- Wipe Down Exterior: Dampen a lint-free cloth with 70% or 90% isopropyl alcohol. Carefully wipe down the entire exterior of the handpiece and the main control unit, including buttons, dials, and cords. Avoid getting liquid into any openings or vents.
- Clean the Chuck/Collet: This is the part of the handpiece that holds the drill bit. Use a dry, soft-bristled brush or a cotton swab to gently remove any dust or debris from inside the chuck opening. If your drill manual specifies, you might use a very lightly dampened cotton swab with alcohol, but be extremely cautious not to introduce excess moisture into the handpiece’s internal mechanisms.
- Lubricate (if applicable): Some professional-grade electric nail drills require periodic lubrication of the chuck mechanism to ensure smooth operation and prevent seizing. Consult your drill’s user manual. If recommended, apply a tiny drop of cuticle oil or specialized machine oil to the chuck as instructed. Do not over-lubricate.
- Allow to Air Dry: Let all parts air dry completely before reassembly or storage.
Step 5: Inspect and Store Your Equipment
- Inspect Bits: Before storing, inspect each bit for wear and tear. Dull or damaged bits can be ineffective and even dangerous, causing more friction and potentially burning the nail or skin. Replace them as needed.
- Organize Bits: Store your clean, dry bits in a dedicated bit holder or a sealed container to protect them from dust and damage. Many electric nail drill kits come with a bit organizer.
- Store the Drill: Once the handpiece and control unit are completely dry, store them in their original case or a dedicated electric nail drill storage case. Ensure the cords are neatly coiled and not kinked or bent sharply. Keeping the drill protected from dust, moisture, and impact is essential for its longevity.
- Choose a Proper Storage Location: Store your drill in a cool, dry place away from direct sunlight, extreme temperatures, and humidity. Basements or bathrooms can be too humid and may lead to corrosion or damage to electronic components.
Mistakes to Avoid
Proper cleaning and storage are key to extending the life of your electric nail drill and ensuring safe use. Avoid these common pitfalls:
- Not Unplugging the Drill: Never clean your drill while it’s still plugged in. This is a significant safety hazard.
- Using Harsh Chemicals: Avoid abrasive cleaners, acetone, or harsh solvents on your drill’s handpiece or control unit. These can damage the plastic, finish, or internal components. Stick to isopropyl alcohol for external disinfection.
- Soaking the Handpiece: Do not immerse the handpiece or control unit in water or any liquid. Electric nail drills are not waterproof, and internal damage can occur, voiding your warranty and creating a shock hazard.
- Neglecting Bit Cleaning: Allowing product residue and dust to build up on bits makes them less effective, can cause overheating, and harbors bacteria.
- Improper Drying: Storing bits or the handpiece before they are completely dry can lead to rust, corrosion, or damage to electrical components.
- Storing Bits Loosely: Bits can become dull, damaged, or lost if not stored securely in a holder or case.
- Over-Lubricating: If your drill requires lubrication, use only the recommended amount. Excessive oil can attract dust and grime, potentially hindering performance.
- Ignoring the Manufacturer’s Manual: Always refer to your specific drill’s user manual for detailed cleaning and maintenance instructions, as procedures can vary by model.
Safety Note: For individuals with diabetes, neuropathy, poor circulation, or any other underlying health condition affecting foot health, it is especially important to exercise caution with all DIY foot care, including the use of electric nail drills. Improper use or inadequate hygiene can lead to serious complications, including infections or injuries that heal poorly. Always consult a podiatrist before using abrasive tools or performing extensive foot care at home to ensure it’s safe for your specific health needs.
Key Takeaways
- Prioritize Safety: Always unplug your drill and wear protective gear (safety glasses, dust mask) before cleaning.
- Clean Bits Thoroughly: Remove and brush bits, then soak them in a specialized bit cleaner or isopropyl alcohol, scrub, rinse, and dry completely.
- Disinfect Properly: After cleaning, disinfect bits and the handpiece exterior with 70% or 90% isopropyl alcohol to kill pathogens.
- Maintain the Handpiece: Wipe down the exterior with alcohol and gently clean the chuck. Lubricate only if recommended by the manufacturer.
- Store Safely: Ensure all components are completely dry, then store the drill and bits in a dedicated, protective case in a cool, dry place.
- Regular Maintenance: Implement a consistent cleaning routine after each use, or at least weekly for regular users, to ensure hygiene and prolong equipment life.
Related Guides
Related Guides
Frequently Asked Questions
How often should I clean my electric nail drill and bits?
For optimal hygiene and performance, you should perform a quick clean of your drill bits after every use (brushing off dust and wiping with alcohol). A more thorough cleaning, including soaking and disinfection, should be done at least weekly for regular home users, or after every client if you’re a professional. The handpiece and control unit should be wiped down regularly, and a deep clean of the chuck area done monthly or as needed.
Can I use water to clean my electric nail drill?
You should generally avoid using water directly on the electric nail drill’s handpiece or control unit, as these are not waterproof and moisture can damage internal electronics. Water can be used to rinse bits after soaking in a cleaning solution (if the solution permits), but ensure they are thoroughly dried immediately afterward to prevent rust. For the handpiece, stick to a lightly dampened cloth with isopropyl alcohol for external cleaning.
What’s the difference between cleaning and disinfecting?
Cleaning physically removes dirt, dust, debris, and product residue from surfaces using soap, water, or cleaning solutions. It reduces the number of germs but doesn’t necessarily kill them. Disinfecting uses chemical agents (like isopropyl alcohol) to kill most bacteria, viruses, and fungi on surfaces. Both steps are crucial: you must clean before you disinfect, as disinfectants are less effective on dirty surfaces.
How do I know when to replace my electric nail drill bits?
You should replace bits when they show signs of wear, such as becoming dull, chipped, bent, or corroded. Dull bits become less effective, require more pressure, and can generate excessive heat, potentially damaging the nail or skin. Damaged bits can also vibrate unevenly, leading to an uncomfortable or unsafe experience. Regular inspection after cleaning will help you identify bits that need replacing.
Is an ultrasonic cleaner necessary for electric nail drill bits?
While not strictly necessary for home users, an ultrasonic cleaner can significantly enhance the cleaning of your drill bits, especially for those with intricate designs or heavy product buildup. Ultrasonic cleaners use high-frequency sound waves to create cavitation bubbles that dislodge debris from hard-to-reach areas. If you use your drill frequently or work with various nail products, an ultrasonic cleaner can be a worthwhile investment to ensure thorough cleaning before disinfection. check the current price on Amazon


Leave a Reply