Shop Jaws Podiatry on Amazon
Podiatrist-formulated foot-care products for fungus, calluses, and cracked heels.
Visit the Jaws Podiatry Store →As an Amazon Associate we earn from qualifying purchases.
Dealing with calluses can be a literal pain, but safely and effectively reducing them at home is entirely possible. The key to learning how to file calluses without overdoing it lies in a gentle, systematic approach that prioritizes softening the skin, using the right tools, and knowing when to stop. This guide from HealthyStridesHQ will walk you through each step to achieve smoother, more comfortable feet without risking injury.
What You’ll Need
Gathering your tools before you start will make the process smoother and more efficient. Here’s what we recommend:
- Foot Soak Basin: A simple basin or even your bathtub filled with warm water.
- Epsom Salts or Foot Soak: To help soften tough skin and relax your feet. check the current price on Amazon
- Callus Softener/Urea Cream: A high-quality cream, especially one with urea, can significantly aid in softening calluses. We recommend the Jaws Podiatry 40% Urea Callus Cream, which is designed to deeply moisturize and exfoliate rough skin. check the current price on Amazon
- Foot File or Pumice Stone: A manual foot file (like the stainless-steel file from the Jaws Podiatry 40% Urea Callus Cream + Stainless-Steel File Kit) or a natural pumice stone is excellent for gentle abrasion. check the current price on Amazon
- Optional: Electric Callus Remover: For those who prefer a motorized option, a good quality electric callus remover can be effective, but requires extra caution to avoid over-filing. check the current price on Amazon
- Clean Towel: For drying your feet.
- Rich Foot Moisturizer: To hydrate and protect your skin after filing. Look for one with ingredients like shea butter, hyaluronic acid, or ceramides. check the current price on Amazon
- Comfortable Socks: To wear after moisturizing, helping to lock in hydration. check the current price on Amazon
Shop Jaws Podiatry on Amazon
Podiatrist-formulated foot-care products for fungus, calluses, and cracked heels.
Visit the Jaws Podiatry Store →As an Amazon Associate we earn from qualifying purchases.
Step-by-Step Guide to Filing Calluses Safely
Follow these steps carefully to ensure you file your calluses effectively and without causing irritation or injury.
-
1. Prepare Your Feet with a Warm Soak
Before any filing begins, it’s crucial to soften your calluses. Fill a foot basin or bathtub with warm (not hot) water. Add about half a cup of Epsom salts or your preferred foot soak solution. Submerge your feet and relax for 10-20 minutes. This process hydrates the hard, dead skin, making it much easier and safer to file away. Attempting to file dry, hard calluses can lead to tearing healthy skin or over-filing.
-
2. Apply a Callus Softener (Optional, but Recommended)
After soaking and lightly towel-drying your feet, you can apply a specialized callus softener. Products containing urea, like the Jaws Podiatry 40% Urea Callus Cream, are highly effective. Apply a generous amount directly to the callused areas and allow it to absorb for a few minutes as directed on the product. Urea helps to break down the protein (keratin) that makes up the thickened skin, further preparing it for removal without harsh scrubbing.
-
3. Choose Your Filing Tool Wisely
The type of tool you use is essential for safely filing calluses without overdoing it:
- Manual Foot File (e.g., Stainless Steel File): These are excellent for controlled removal. The stainless-steel file from the Jaws Podiatry 40% Urea Callus Cream + Stainless-Steel File Kit offers durability and effectiveness. Start with the coarser side for very thick areas, then switch to the finer side for smoothing.
- Pumice Stone: A natural, gentler option, ideal for maintaining smooth feet and for less severe calluses. Always use a pumice stone on damp skin.
- Electric Callus Remover: While convenient, these require extra care. They can remove skin very quickly, increasing the risk of over-filing. If using one, opt for a model with adjustable speeds and apply very light pressure.
-
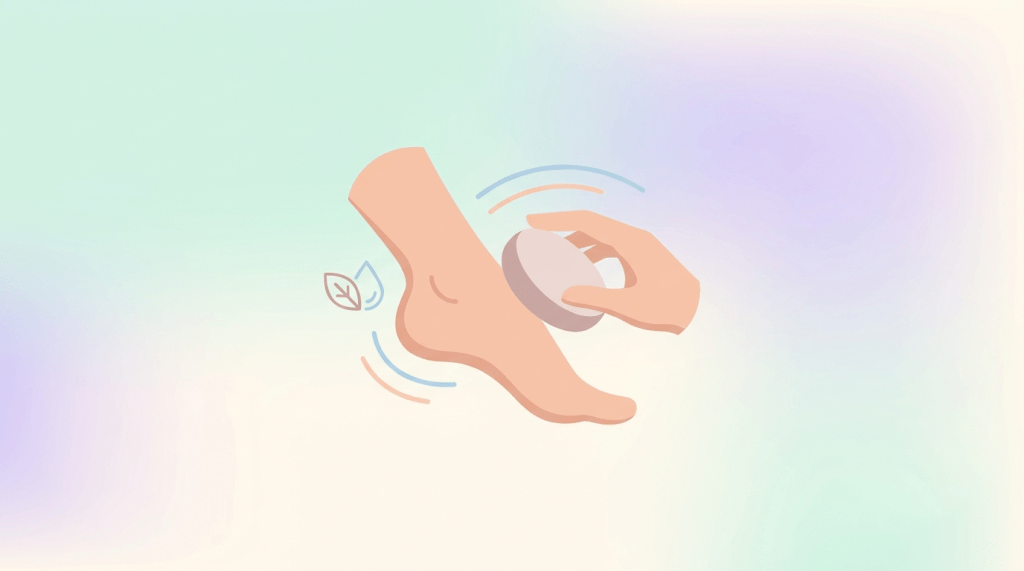
4. File Gently and Systematically
This is the most critical step for learning how to file calluses without overdoing it. Once your feet are softened and towel-dried (or slightly damp if using a pumice stone), begin filing:
- Gentle Pressure: Apply light, even pressure. The goal is to gradually remove thin layers of dead skin, not to aggressively grind it away.
- Short, Controlled Strokes: Use short, back-and-forth or circular strokes. Avoid long, sweeping motions that might skip over areas or apply uneven pressure.
- Focus on the Callus: Concentrate your efforts on the hardened, discolored areas of the callus. Avoid filing healthy skin around it.
- Check Your Progress: Stop frequently to feel the area with your fingers. You’re aiming for the callus to feel softer and smoother, not to disappear entirely in one session. The skin should still have some protective thickness.
- Listen to Your Body: If you feel any pain, burning, or discomfort, stop immediately. These are signs you are filing too aggressively or reaching live skin.
A good rule of thumb is to file until the skin feels noticeably softer and smoother, but still slightly firmer than the surrounding skin. You should never expose pink, raw skin.
-
5. Rinse and Reassess
After filing, rinse your feet thoroughly to wash away any loose skin particles. Dry your feet completely with a clean towel. Inspect the treated areas. If you still feel significant roughness and no pain or tenderness, you may do another light pass with the file. However, it’s often better to stop and repeat the process in a few days rather than over-filing in one session.
-
6. Moisturize Generously
This step is non-negotiable for smooth feet and preventing calluses from returning quickly. Immediately after filing and drying, apply a generous amount of a rich, hydrating foot cream or moisturizer to your entire foot, paying special attention to the areas you just filed. Massage it in until absorbed. This helps to rehydrate the skin, maintain its elasticity, and prevent new calluses from forming rapidly.
-
7. Maintain Regularly
Calluses are a protective response to friction and pressure, so they will eventually return if the underlying cause isn’t addressed. Incorporate regular moisturizing into your daily routine. A light filing session once a week or every two weeks, combined with daily moisturizing, can help maintain smooth feet and prevent calluses from building up excessively. Consider wearing properly fitting shoes and supportive insoles check the current price on Amazon to reduce friction and pressure points.
Mistakes to Avoid When Filing Calluses
To ensure a safe and effective experience, be mindful of these common errors:
- Filing Dry Feet: This is a recipe for disaster. Dry calluses are brittle and hard, making it difficult to gauge how much skin you’re removing. It can lead to tearing, cracking, and even bleeding, often resulting in more pain and potential infection. Always soak your feet first.
- Filing Too Aggressively or Deeply: This is the most common mistake when trying to learn how to file calluses without overdoing it. Removing too much skin can expose the sensitive underlying tissue, causing pain, tenderness, and making you more prone to infection. Your body might even respond by forming a thicker callus as a protective mechanism. Always aim for gradual reduction, not complete removal in one go.
- Using Sharp Tools (Razors, Scissors, Nail Clippers): Never use razors, scissors, or regular nail clippers to cut or slice calluses. These tools are extremely dangerous in untrained hands and can cause deep cuts, severe bleeding, and serious infections. Leave callus removal with sharp instruments to a qualified podiatrist.
- Neglecting Post-Filing Moisturizing: Skipping moisturizer after filing leaves the newly exposed skin vulnerable and dry, which can lead to cracking and even faster callus re-formation. Moisturizing is crucial for maintaining skin health and softness.
- Ignoring Pain or Irritation: If you feel any pain, burning, stinging, or see any redness while filing, stop immediately. These are clear signals that you are either filing too aggressively or have reached live skin. Pushing through pain can lead to injury and complications.
- Filing Too Frequently: While regular maintenance is good, filing too often (e.g., daily or every other day) can irritate the skin and potentially lead to excessive callus growth as your body tries to protect itself. Give your skin time to recover between sessions.
When to See a Podiatrist
While at-home callus filing can be effective for many, certain situations warrant professional medical attention. If you have diabetes, neuropathy (nerve damage), or poor circulation, you should always consult a podiatrist before attempting any at-home foot care, especially involving sharp or abrasive tools. These conditions can impair sensation and healing, making you highly susceptible to injury and infection. Additionally, seek professional help if your calluses are:
- Extremely painful or bleeding.
- Deeply cracked or show signs of infection (redness, swelling, pus).
- Recurring rapidly despite home care.
- Located in unusual or hard-to-reach areas.
- Causing significant discomfort that impacts your daily life.
A podiatrist can safely remove calluses, identify underlying causes, and recommend appropriate long-term solutions.
Key Takeaways
- Soften First: Always soak your feet in warm water and consider a urea-based cream before filing to make calluses easier and safer to remove.
- File Gently: Use light, short, controlled strokes. The goal is gradual reduction, not aggressive removal.
- Stop When Smooth, Not Raw: File until the callus feels noticeably smoother and softer, but never expose pink, sensitive skin. Listen to your body and stop at the first sign of pain or discomfort.
- Moisturize Consistently: Apply a rich foot moisturizer generously after every filing session and daily to maintain skin hydration and prevent rapid callus recurrence.
- Avoid Sharp Tools: Never use razors, scissors, or other sharp instruments on your calluses at home due to the high risk of injury and infection.
Frequently Asked Questions
How often should I file calluses?
The frequency depends on the severity of your calluses and how quickly they reappear. For initial reduction, you might file once or twice a week until significant improvement is seen. For maintenance, a light filing session every 1-2 weeks is usually sufficient, combined with daily moisturizing. Over-filing too frequently can irritate the skin and potentially lead to more rapid callus formation.
What’s the difference between a callus and a corn?
Both calluses and corns are areas of thickened skin, but they differ in structure and location. A callus is generally a broad, flattened area of hardened skin, often found on the soles of the feet or heels, and usually isn’t painful unless it’s very thick or cracked. A corn is smaller, deeper, and has a central core, often appearing on the tops or sides of toes or between them. Corns are typically more painful and can press on nerves. While filing can help reduce the surface of both, corns often require professional treatment for complete relief.
Can filing calluses make them worse?
Yes, if done incorrectly, filing calluses can indeed make them worse. Over-filing, using too much pressure, or using inappropriate tools can remove too much healthy skin, leading to pain, tenderness, and even open wounds. In response to this trauma, your body’s natural defense mechanism might cause the callus to grow back thicker and harder as it tries to protect the damaged area. This is why it’s crucial to understand how to file calluses without overdoing it by following a gentle, systematic approach.
Are electric callus removers safe?
Electric callus removers
 HealthyStridesHQ
Leave a comment