Shop Jaws Podiatry on Amazon
Podiatrist-formulated foot-care products for fungus, calluses, and cracked heels.
Visit the Jaws Podiatry Store →As an Amazon Associate we earn from qualifying purchases.
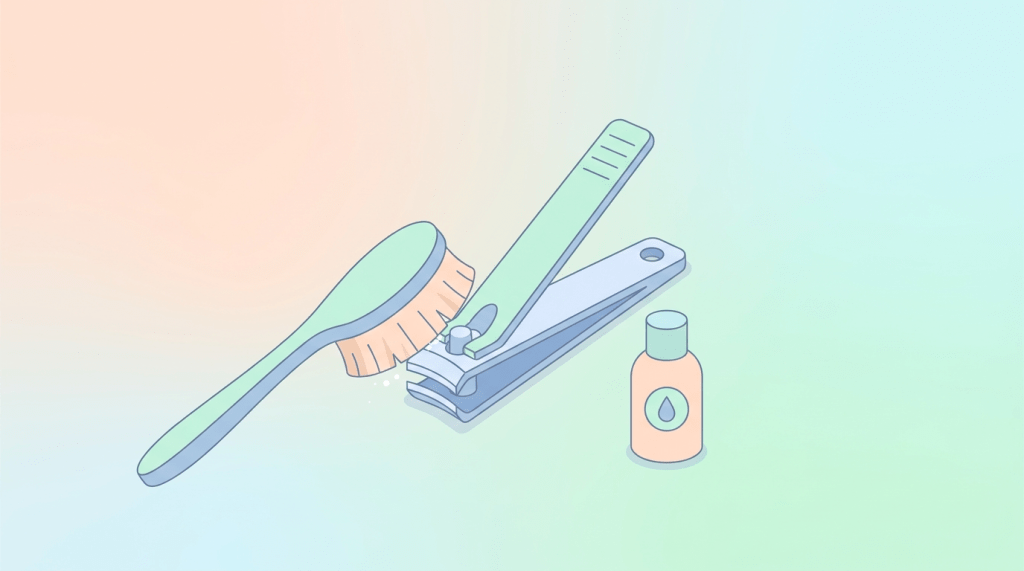
To ensure optimal foot health and prevent infections, learning how to clean toenail clippers properly is essential. This process involves thoroughly removing debris, washing with soap and water, disinfecting with rubbing alcohol, and drying completely before storage. Regular, meticulous cleaning safeguards against the transfer of bacteria and fungi, protecting both your nails and skin.
What You’ll Need
Gathering the right supplies makes the cleaning process efficient and effective:
- Warm Water: For washing and rinsing.
- Liquid Soap: Dish soap or an antibacterial hand soap works well to break down oils and debris.
- Small Brush: An old toothbrush or a dedicated nail brush is ideal for scrubbing away stubborn bits. Find a good nail brush here.
- 70% Isopropyl Rubbing Alcohol: The gold standard for home disinfection, effectively killing most bacteria and fungi. Purchase isopropyl alcohol.
- Cotton Balls, Cotton Pads, or Clean Cloth: For applying alcohol and wiping.
- Small Bowl or Container: For soaking the clippers in alcohol.
- Clean, Dry Towel: To thoroughly dry your clippers and prevent rust.
- Optional: Lubricating Oil: A tiny drop of mineral oil or machine oil can help keep the hinge smooth after cleaning and drying.
Step-by-Step Guide: How to Clean Toenail Clippers Properly
Follow these detailed steps to ensure your toenail clippers are hygienically clean and ready for use, preventing the spread of germs and maintaining foot health.
-
Step 1: Initial Debris Removal
Before any washing or disinfecting, it’s crucial to remove any visible nail clippings, skin fragments, or dirt that might be lodged in the clipper blades or hinge. This prevents these particles from hindering the cleaning and disinfection process.
- Tap and Brush: Gently tap the clippers over a trash can to dislodge loose debris.
- Use a Small Brush: Take your small brush (an old toothbrush is perfect) and carefully scrub all surfaces of the clippers, paying close attention to the cutting edges, the hinge, and any textured grips. Ensure you get into all crevices where debris might hide.
-
Step 2: Wash with Soap and Warm Water
Once visible debris is gone, a thorough wash with soap and water will remove oils, microscopic particles, and prepare the clippers for disinfection.
- Rinse Under Warm Water: Hold the clippers under running warm water to wet them completely.
- Apply Soap: Apply a small amount of liquid soap (dish soap or antibacterial hand soap) directly onto the clippers.
- Scrub Again: Use your small brush to scrub the clippers vigorously while they are soapy. Open and close the clippers a few times under the water to allow soap and water to penetrate the hinge mechanism. Focus on the blades and any areas that come into contact with your nails.
- Rinse Thoroughly: Rinse the clippers under warm running water until all soap residue is completely gone. Ensure no suds remain, as soap residue can attract new dirt or affect the disinfection process.
-
Step 3: Disinfect with Rubbing Alcohol
Washing alone is not enough to kill bacteria, viruses, and fungi. Disinfection is the most critical step in learning how to clean toenail clippers properly.
- Pour Alcohol: Pour 70% isopropyl rubbing alcohol into a small bowl or container, ensuring there’s enough to fully submerge the working parts of your clippers.
- Submerge Clippers: Carefully place your clean, wet clippers into the alcohol, making sure the blades and hinge area are completely covered. For maximum effectiveness, you can fully submerge the entire clipper if possible.
- Soak Time: Allow the clippers to soak for at least 5-10 minutes. This contact time is crucial for the alcohol to effectively kill microorganisms.
- Wipe Down (Alternative): If soaking isn’t feasible for your clipper type, thoroughly wipe down all surfaces, especially the blades, with a cotton ball or pad saturated with 70% isopropyl alcohol. Ensure the surfaces remain visibly wet with alcohol for at least 30-60 seconds to allow for proper disinfection. Reapply alcohol as needed to maintain wetness.
-
Step 4: Dry Completely
Improper drying is a common mistake that can lead to rust and compromise the longevity of your clippers.
- Remove from Alcohol: Carefully remove the clippers from the alcohol or after wiping.
- Air Dry or Towel Dry: You can allow them to air dry on a clean, dry surface, or gently pat them dry with a clean, lint-free towel. Ensure every part, including the hinge, is thoroughly dry. Opening and closing the clippers a few times can help expel any trapped moisture from the hinge.
-
Step 5: Lubricate (Optional but Recommended)
A small amount of lubrication can keep your clippers operating smoothly and prevent stiffness in the hinge.
- Apply Oil: If your clippers have a hinge mechanism, apply a tiny drop of mineral oil or a light machine oil (like sewing machine oil) to the hinge.
- Work the Hinge: Open and close the clippers several times to distribute the oil evenly.
- Wipe Excess: Wipe away any excess oil with a clean cloth to prevent it from attracting dust.
-
Step 6: Store Properly
Once clean and dry, proper storage is key to maintaining hygiene and preventing contamination.
- Clean, Dry Place: Store your clippers in a clean, dry place, ideally in a protective case or a dedicated drawer where they won’t be exposed to moisture or dust.
- Avoid Bathrooms (if humid): If your bathroom is consistently humid, consider storing them elsewhere to prevent rust.
Shop Jaws Podiatry on Amazon
Podiatrist-formulated foot-care products for fungus, calluses, and cracked heels.
Visit the Jaws Podiatry Store →As an Amazon Associate we earn from qualifying purchases.
Mistakes to Avoid When Cleaning Toenail Clippers
Preventing these common errors will enhance the effectiveness of your cleaning routine and protect your foot health:
- Not Cleaning Regularly: Failing to clean clippers after every use, or at least before each use, allows bacteria and fungi to accumulate and potentially spread.
- Skipping Disinfection: Washing with soap and water removes visible dirt, but it doesn’t disinfect. Skipping the alcohol step leaves harmful microorganisms on the blades.
- Sharing Clippers: Sharing toenail clippers, even if “clean,” significantly increases the risk of transmitting fungal infections (like athlete’s foot or onychomycosis) and bacterial infections. Each person should have their own set of clippers.
- Improper Drying: Leaving clippers wet or damp after cleaning leads to rust, which dulls the blades and can introduce rust particles into cuts.
- Using Dull or Rusty Clippers: Dull clippers can tear or split nails, increasing the risk of ingrown toenails or injury. Rusty clippers are unhygienic and can also cause damage. Replace them when they show signs of significant wear or rust. Upgrade to a high-quality toenail clipper.
- Neglecting the Hinge: The hinge area can trap debris and moisture, making it a breeding ground for germs if not thoroughly cleaned and dried.
Safety Note: When to See a Podiatrist
While proper clipper hygiene is vital for everyone, individuals with certain health conditions need to exercise extra caution with DIY foot care. If you have diabetes, neuropathy (nerve damage), or poor circulation, any minor cut or infection can lead to serious complications. It is strongly recommended to consult a podiatrist before performing any self-care involving sharp tools. A podiatrist can safely trim your nails and provide professional guidance on foot hygiene. If you notice signs of a nail infection (redness, swelling, pain, pus, discoloration) or persistent fungal issues, seek professional help. Early intervention is key to preventing worsening conditions. For early signs of nail fungus, a topical solution like Jaws Podiatry’s undecylenic-acid + tea-tree-oil nail enhancer can be beneficial, but always consult a professional for diagnosis and severe cases. Explore Jaws Podiatry’s nail enhancer.
Key Takeaways
- Clean After Every Use: Make cleaning your toenail clippers a routine habit immediately after each use to prevent germ buildup.
- Disinfection is Crucial: Always follow washing with a 5-10 minute soak or thorough wipe with 70% isopropyl alcohol to kill bacteria and fungi.
- Dry Thoroughly: Prevent rust and extend clipper life by ensuring they are completely dry before storage.
- Personal Use Only: Never share toenail clippers to avoid transmitting infections between individuals.
- Consult a Pro for Risk Factors: If you have diabetes, neuropathy, or poor circulation, always consult a podiatrist for nail care to prevent serious complications.
Related Guides
Related Guides
Frequently Asked Questions
How often should I clean my toenail clippers?
Ideally, you should clean your toenail clippers after every single use. This is the best way to prevent the transfer of bacteria and fungi from your nails to the clippers, and then potentially back to your nails or skin during subsequent uses. A quick wash, brush, and alcohol wipe/soak ensures they are hygienic for next time.
Can I use bleach to clean my toenail clippers?
While bleach is a powerful disinfectant, it is generally not recommended for cleaning toenail clippers for home use. Bleach can be corrosive to metal, leading to rust and dulling of the blades over time. It also requires careful dilution and handling. For home use, 70% isopropyl rubbing alcohol is a safer, highly effective, and less corrosive alternative for disinfecting your clippers.
What if my toenail clippers are already rusty?
If your toenail clippers show signs of rust, it’s best to replace them. Rust not only indicates poor hygiene but also compromises the integrity of the metal, dulling the blades and making them less effective. Rusty clippers can also harbor bacteria and may transfer rust particles into any nicks or cuts, increasing the risk of infection. Investing in a new, high-quality pair is a wise decision for foot health. Find new, rust-resistant toenail clippers.
Is it okay to share toenail clippers if they’ve been cleaned?
No, it is generally not recommended to share toenail clippers, even if they have been thoroughly cleaned and disinfected. While cleaning significantly reduces the risk, there’s always a slight chance of microscopic pathogens lingering or cross-contamination occurring. For optimal hygiene and to completely minimize the risk of spreading fungal infections (like onychomycosis) or bacterial issues, each individual in a household should have their own dedicated set of toenail clippers.
How do I know if my clippers are clean enough?
Your clippers are clean enough when they are visibly free of any nail debris or skin, feel smooth and not greasy, and have undergone proper disinfection with rubbing alcohol. The key is following all steps: initial debris removal, washing with soap and water, thorough disinfection with 70% isopropyl alcohol, and complete drying. If you’ve followed these steps meticulously, you can be confident your clippers are hygienically clean for safe use.


Leave a Reply