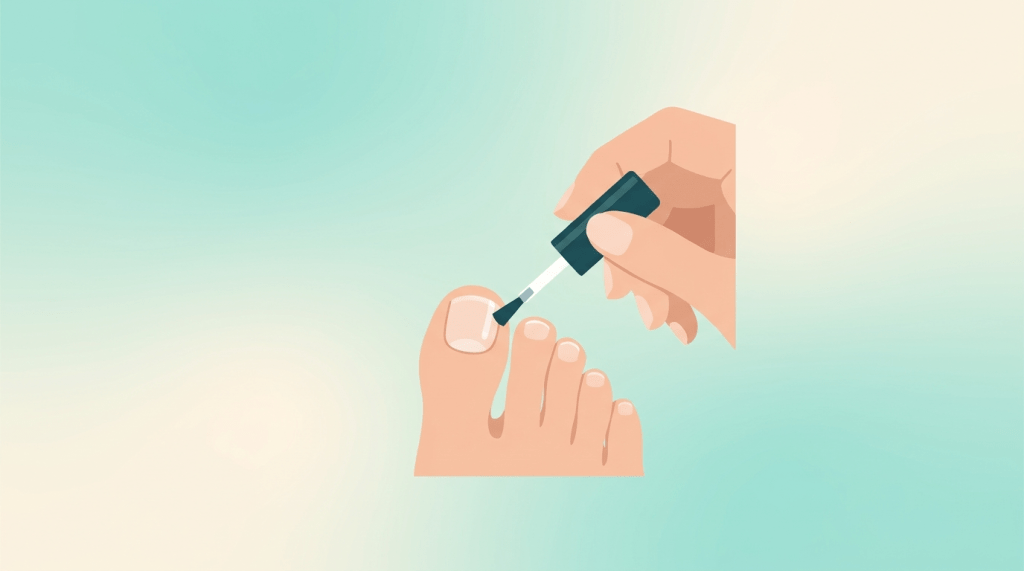
Using a nail appearance enhancer effectively involves a consistent routine of nail preparation, precise application, and ongoing hygiene to achieve the best results, especially when addressing early-stage concerns like mild discoloration or minor fungal issues. This guide will walk you through the essential steps and best practices to maximize the benefits of your nail enhancer and promote healthier-looking nails.
Understanding Nail Appearance Enhancers and Their Role
What Are Nail Appearance Enhancers?
Nail appearance enhancers are topical solutions designed to improve the cosmetic look of nails that may be discolored, brittle, or thickened due to various factors, including early-stage fungal infections, minor trauma, or general nail health decline. Many formulations combine ingredients that target the underlying cause (like mild antifungal agents) with components that restore the nail’s natural luster and strength. Common active ingredients often include undecylenic acid, tea tree oil, or other natural extracts known for their nail-supporting properties.
When to Use Them (Early-Stage Fungus)
Nail appearance enhancers are particularly effective for individuals experiencing the very first signs of a toenail fungus, such as a slight yellowing, white spots, or minor thickening of the nail. They are also beneficial for nails that look dull, discolored, or uneven due to non-fungal reasons. If you notice these early symptoms, a high-quality enhancer can often help prevent the condition from worsening and restore your nail’s healthy appearance. For an effective podiatrist-informed option, consider the Jaws Podiatry Nail Appearance Enhancer, which combines undecylenic acid and tea tree oil to target early-stage issues and improve nail aesthetics.
Important Safety Note: If you have diabetes, neuropathy, or circulation problems, always consult a podiatrist before attempting any self-treatment for nail issues, as even minor infections can lead to serious complications.
Step-by-Step Guide: How to Use a Nail Appearance Enhancer Effectively
Consistent and correct application is crucial when learning how to use a nail appearance enhancer. Follow these steps meticulously for the best chance of success:
Step 1: Prepare Your Nails
- Clean Your Feet Thoroughly: Wash your feet with soap and water, paying close attention to the nails and surrounding skin. This removes dirt, oil, and any loose debris that could hinder the enhancer’s absorption.
- Dry Completely: Use a clean towel to thoroughly dry your feet and nails. Moisture can trap bacteria and fungi, and it can also dilute the enhancer, reducing its effectiveness.
- Trim and File Nails: Carefully trim your nails straight across, ensuring they are not too long. Then, gently file down any thickened areas of the nail plate. This helps the enhancer penetrate more effectively. For this, you might use a high-quality nail nipper and emery board or glass nail file. If your nails are very thick, a specialized electric nail file can be helpful, but use with caution.
- Remove Nail Polish (If Applicable): If you are wearing nail polish, remove it completely before applying the enhancer. Polish creates a barrier that prevents the product from reaching the nail bed.
Step 2: Apply the Enhancer
- Read Product Instructions: Always refer to the specific application instructions provided with your nail appearance enhancer, as formulations can vary.
- Apply a Thin Layer: Using the applicator brush or dropper, apply a thin, even layer of the enhancer directly to the affected nail surface. Ensure complete coverage of the discolored or damaged areas.
- Target Under the Nail: If possible and the applicator allows, gently try to apply a small amount of the enhancer underneath the tip of the nail, where fungus often thrives.
- Allow to Dry: Let the enhancer dry completely before putting on socks or shoes. This usually takes a few minutes. Avoid touching the treated nail during this time.
Step 3: Consistency is Key
Nail issues, especially fungal ones, take time to resolve. The most critical factor in how to use a nail appearance enhancer effectively is consistent, daily application. Most products recommend applying once or twice a day. Do not skip applications, even if you start to see improvement. Remember that it takes several months for a new, healthy nail to grow out completely.
Step 4: Maintain Nail Hygiene
After applying the enhancer, continue to practice excellent foot and nail hygiene. This includes changing socks daily, wearing breathable footwear, and keeping your feet dry. These practices will help prevent re-infection and support the overall health of your nails as they recover.
Maximizing Results: Tips for Healthy Nails
Beyond simply knowing how to use a nail appearance enhancer, incorporating broader foot care practices will significantly boost your results and prevent future issues.
Hygiene Habits
- Wash and Dry Daily: Wash your feet daily with soap and water, and dry them thoroughly, especially between the toes.
- Change Socks Regularly: Wear clean, dry socks made of moisture-wicking materials (cotton or wool blends) daily. Change them more frequently if your feet sweat a lot or get wet.
- Choose Breathable Footwear: Opt for shoes made of natural materials like leather or canvas that allow your feet to breathe. Avoid tight, non-breathable shoes that create a warm, moist environment conducive to fungal growth.
- Sanitize Shoes: Regularly spray the inside of your shoes with an antifungal spray or use a UV shoe sanitizer to kill any lingering fungal spores.
- Wear Shower Shoes: Always wear flip-flops or shower shoes in public showers, locker rooms, and pool areas to protect your feet from fungi.
Proper Nail Trimming
Trim your toenails regularly, cutting them straight across and not too short. Avoid rounding the corners too much, as this can encourage ingrown toenails. Use clean, sharp nail clippers or nail nippers dedicated solely to your toenails.
Addressing Calluses and Dry Skin
Hardened skin and calluses, especially around the heels and toes, can create cracks where fungi and bacteria can enter, exacerbating nail problems. Keeping your skin smooth and hydrated is an important part of overall foot health. For effective callus removal and prevention of cracked heels, consider the Jaws Podiatry 2-piece Callus Kit, which includes a 40% urea callus cream for deep hydration and exfoliation, and a surgical-grade stainless steel file for safe and efficient removal of hardened skin.
When to See a Podiatrist
While nail appearance enhancers are excellent for early-stage issues, it’s crucial to know when to seek professional help. Consult a podiatrist if:
- Your nail condition doesn’t improve after several weeks or months of consistent enhancer use.
- The infection spreads to other nails or the surrounding skin.
- Your nail becomes very painful, discolored, or starts to lift from the nail bed.
- You have diabetes, neuropathy, or poor circulation, as these conditions increase the risk of serious complications from even minor foot issues.
Common Mistakes to Avoid
To ensure you’re getting the most out of your treatment, avoid these common pitfalls:
- Inconsistent Application: Skipping days or weeks will significantly delay results and may allow the issue to worsen.
- Not Preparing Nails Properly: Failing to clean, dry, and file nails before application reduces the enhancer’s ability to penetrate.
- Ignoring Foot Hygiene: Neglecting to change socks, sanitize shoes, or wear breathable footwear can lead to re-infection or hinder recovery.
- Stopping Too Soon: Even if your nail looks better, the underlying issue might still be present. Continue treatment until a healthy, clear nail has fully grown out.
- Using Nail Polish Over Enhancer: Nail polish creates a barrier, preventing the enhancer from working effectively. It’s best to avoid polish during treatment.
- Expecting Instant Results: Nail growth is slow. Visible improvement can take weeks or even months. Patience is essential.
Comparing Nail Treatment Options
Understanding the landscape of nail treatment options helps you make informed decisions about your foot health.
| Treatment Option | Primary Use | Pros | Cons | Suitability for Early-Stage Fungus |
|---|---|---|---|---|
| Nail Appearance Enhancer (e.g., Jaws Podiatry Nail Appearance Enhancer) | Early-stage fungal issues, general nail discoloration/brittleness | Non-invasive, over-the-counter, few side effects, can improve overall nail aesthetics. | Requires consistent daily application, can take several months for results, less effective for severe cases. | Highly Suitable – often the first line of defense for mild symptoms. |
| Prescription Topical Antifungals | Moderate fungal infections | Stronger active ingredients, prescribed by a doctor for targeted treatment. | Can be expensive, still requires consistent application, may not penetrate very thick nails well. | Suitable if OTC enhancers aren’t sufficient or if fungus is slightly more advanced. |
| Oral Antifungal Medications | Severe, widespread, or stubborn fungal infections | Highly effective as they treat from the inside out. | Requires prescription, potential side effects (liver, digestive), drug interactions, long treatment duration. | Not typically for early-stage; reserved for more severe cases or when topicals fail. |
| Laser Treatment | Moderate to severe fungal infections, often when other treatments fail | Non-invasive, no systemic side effects, often done in-office. | Can be expensive and not always covered by insurance, often requires multiple sessions, variable efficacy. | Generally not for early-stage; considered for more persistent or advanced cases. |
Key Takeaways
- Nail appearance enhancers are best for early-stage nail discoloration, minor thickening, or mild fungal issues.
- Preparation is vital: clean, dry, and gently file nails before each application.
- Consistency is the most crucial factor; apply the enhancer daily as directed for several months.
- Maintain excellent foot hygiene, including clean socks, breathable shoes, and proper nail trimming, to support treatment.
- For calluses and dry skin, consider products like the <a href="


Leave a Reply